You don’t have to use much effort to get your sliding door to glide along its track.
Ideally, you should use one hand to open it easily. Sliding doors get stuck due to various reasons such as dirty rollers, worn out rollers and poor installation.
If your door has become more of a sticker than a gliding door, you can fix the problem by following these simple instructions.
Remove the Door
Start by removing the two plugs that cover the roller adjustment screws at the bottom of the door frame. Using a flathead screw driver, turn the screws counterclockwise. This will pull back the rollers thus lowering the door. Make sure that you have some sawhorses with pads. Remove any drapes or shades and open the door slowly. Use a screwdriver to loosen the screws on the head stop. A Sliding door is heavy so ensure it doesn’t fall. Tilt the top of the door panel towards you and raise the door from its track. Gently place the door panels on the sawhorses.
Clean and Grease Tracks and Rollers
Gently remove each roller from the pocket in the bottom of the door; it’s easier if you used a flat head screwdriver. Replace the rollers if they are worn out or bent; they cost $10 or less. Remove dirt from the wheels and use alcohol to clean them. Use silicon spray to grease the rollers; silicone spray is preferred because it doesn’t hold dirt. Replace them by placing each roller adjustment screw with its entry hole and tap in the assemblies with a hammer.
Once they’re positioned, pull back the rollers. Use alcohol to clean the head track and the head stop then grease it using silicone spray. Use a stiff brush to remove debris from the bottom track, and then clean it using denatured alcohol. It’s unnecessary to lubricate the lower track but if you have to, you can rub it a little with a block of paraffin wax.
Weatherstrip and Reinstall
Examine the weather stripping to check if it’s torn or cracked. Using a flat head screwdriver, back out the screws, hold one end and pull it off the door. Use pliers to pull out the remaining staples and then use a hammer to flatten the broken ones. If you want to replace the strip on the jamb side, hold one end and pull it off. This strip is usually glued; therefore, you need to use a putty knife to remove the remaining part. Ensure that you do it gently to avoid scarring the finish.
At the point where the sliding panel frame overlays the fixed panel, align the stripping with the flap facing the direction indicated on the instructions. Position the top end with the shadow line of the head stop and then fasten the internal ridge along the door’s edge. Drill a 1/8 inch wide hole adjacent to each of the holes on the internal ridge and drive the screws. Repeat the same process on the fixed panel so that the strips interconnect. Use the plastic adhesive to glue the jamb side strip. If there are any blotches or fingerprints on the panel, you can use alcohol to clean it up.
Place the door on the bottom track and incline it upwards. Use your body to support the door and then fix the head stop. Roll the door and make sure that it stands parallel to the jamb. If the latch does not match to the receiver on the jamb, tune the receiver by loosening the screws and turning it clockwise or counterclockwise.
If you follow these steps and your door doesn’t slide smoothly, it may be due to a construction problem or poor positioning. You can hire a contractor to check your door and have the problem fixed.
Cottages hold a special place in the lives of Ontarians. Whether it’s a century-old family retreat passed down through generations or a newly built getaway overlooking the lake, a cottage is more than just a property — it’s a gathering place, a sanctuary, and a
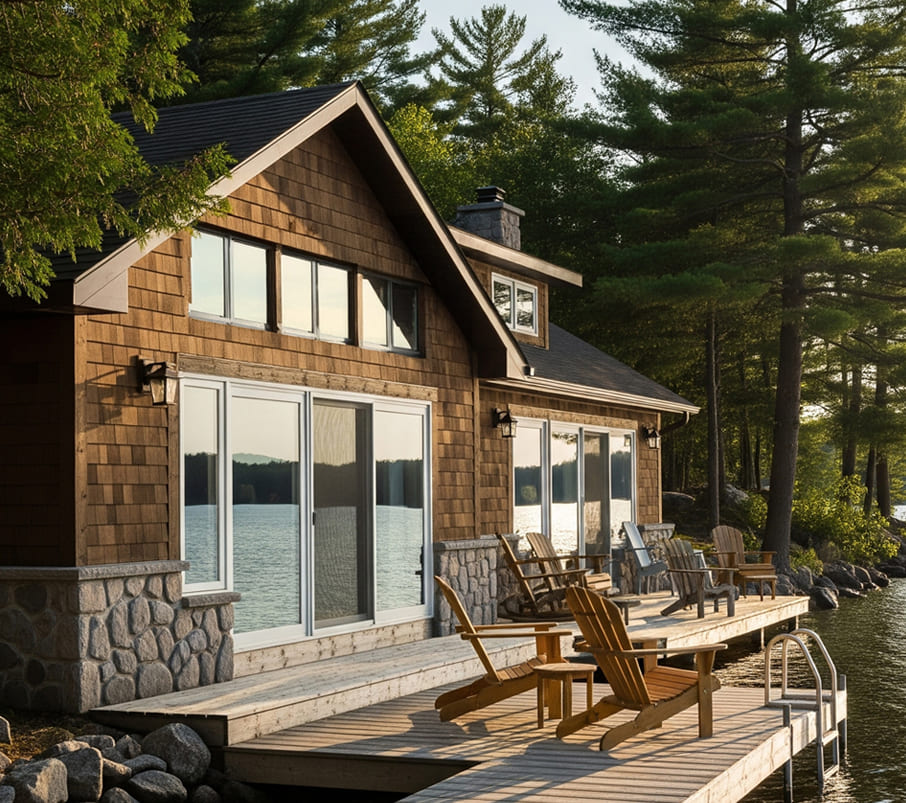
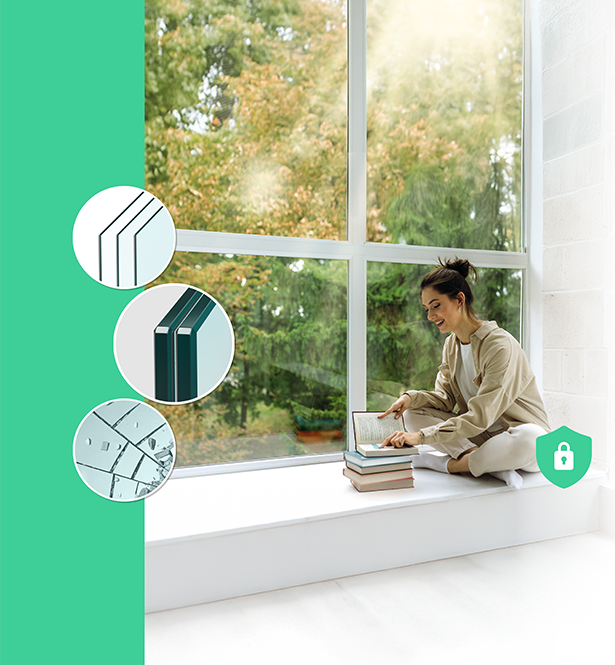
Don’t Overlook the Obvious: Your Windows and Doors Home security often begins with deadbolts and alarm systems—but what about the most vulnerable parts of your home? Windows and patio doors are frequently overlooked, despite being major access points for intruders. As break-ins continue to rise
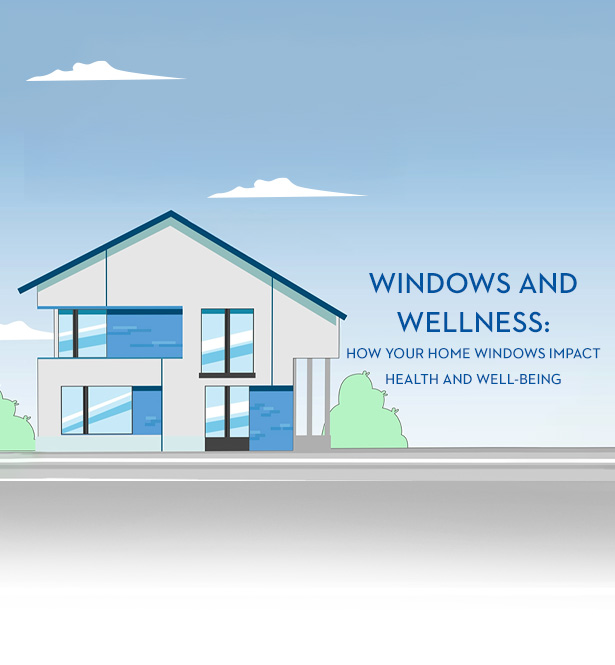
Windows are vital to our wellbeing and they more to offer than just a view of the outside world. We invite you to learn how windows make a home healthier, quieter, and more energy-efficient, and they also improve the quality of the air and elevate
We use cookies to enhance your browsing experience, serve personalized ads or content, and analyze our traffic. By clicking “Accept All”, you consent to our use of the cookies.Accept All